


I know what you’re thinking, not another Git article. Well, this was supposed to be a video, but one wind storm and falling tree limb later my office space finds itself in need of a face lift. Until then, I did want share this as it scares me the number of developers who aren’t familiar or comfortable with source control. I thought I’d put together an easy-to-read guide on some basic Git features and how to use them. Remember Git is file tracking system keeps record of historical changes in a file(s). It’s not as scary as it might look.
Installation
I’m going to assume that if you’re reading this article you know how to install an application on your machine. If not feel free to click here for a bit of help. I’m going to do a bit of assuming here that not everyone reading this will be comfortable with the Command Line Interface (CLI) so we’ll be working with a newer GUI provided by GitHub. For my CLI fans don’t judge me.
GitHub GUI
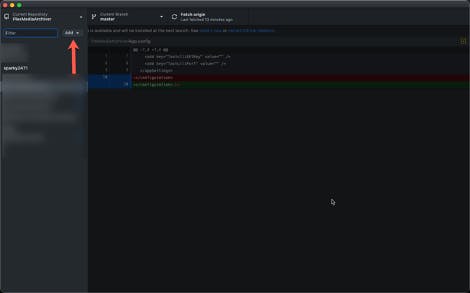
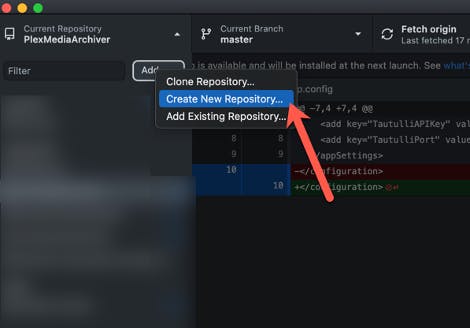
To get started with Git GUI a repository needs to be created or cloned from a remote server. A remote server can be anything from a public repository on GitHub to a local folder on your machine.
Upon clicking the Create New Repository option the UI changes and wants a directory that will be created and code will be stored in. For our purposes we’ll be creating a folder on the Desktop.
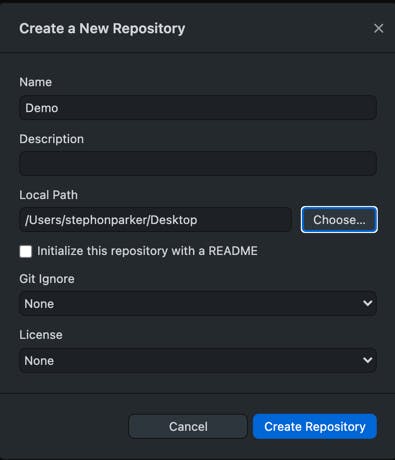
Now that there is a folder linked to a local repository file changes can be tracked by Git and controlled for file management. When a repository is created by default it is set at the master branch in most cases. When creating a Python project the default is set to main instead of master.
Let’s Track A File
Now that we have this empty repo let’s create a file using TextEdit with some sample wording in it. I usually use some lorem ipsum when I’m testing or demoing. After adding some text and saving the file head back to GitHub for an interesting development…see what I did there?
Who Dun It?

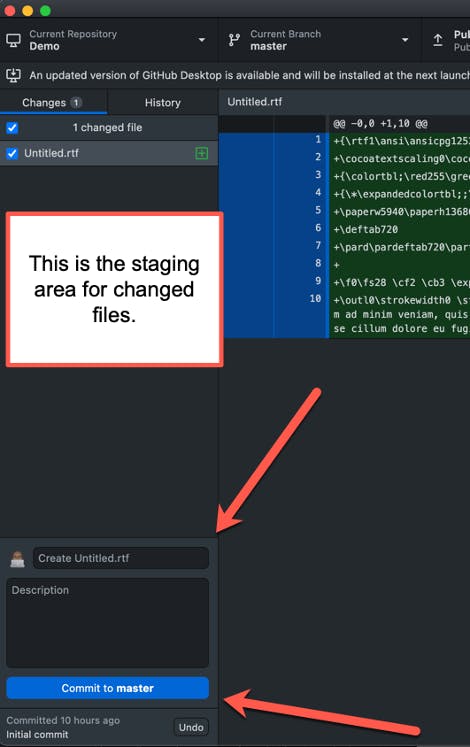
Git has noticed that we made some changes to our source and wants to now keep track of those changes. We do that by committing the changes to our master branch so they become a permanent part of our Git history. GitHub Desk likes for the user to sign in with their GitHub account so it knows who made the changes so it can assign the commit SHA, in other words a unique id for a change set to say who did what and when. Any files with changes will appear in the Unstaged Changes area. It is here that changes to the file will be highlighted to show what is new or what has changed. Here I also show where you can enter a commit message and push changes to your master branch.
Pushing Files To The Origin and Beyond
I’m going to take a break here for a moment to plug for GitHub. Since we are using their software when you push your code it will attempt to push the changes from your repository on your local machine to our space in GitHub. If you were using the CLI you can just push locally and not do this, but I’m going to suggest you should push your code. If you need support or help this allows you to invite others in or for people to see what you are working on. Public GitHub repos save lives.
Creating New Branches
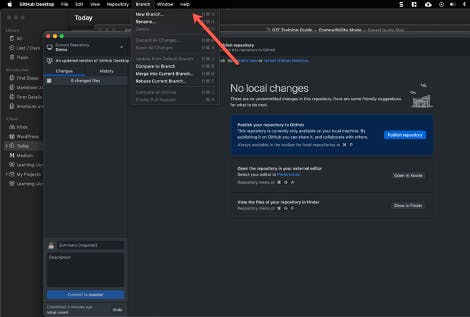
To create a branch click on Branch and New Branch:
The only field that needs a value is the Name which will be the name of the branch being created.
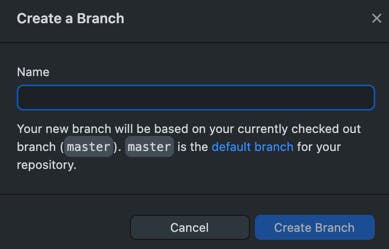
Creating a branch causes it to be checked out immediately and all work done on the files to be committed to that branch.
Checkout Branches
Switching branches allows for working on multiple projects at any one time. In order to checkout a local or remote branch, click Current Branch and Checkout:
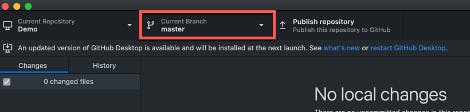
Click the branch that needs to be worked on like magic it should just check out.
Managing branches
Once a known good working version of the file or code is promoted into the master branch it is typically best practice to create a branch where code can be worked on and reviewed without affecting the master branch. This ensures that no matter what changes are made to the code a good working version always exists and can be used at any time.
Additional Resources
There is much more to Git than this document. Some of you might be asking “what about merging or I’m getting this crazy thing called a merge conflict”, I will address those in a separate article. This is really meant for those who are getting into Git or source control for the first time. Below are additional learning tools and resources for Git:
Git GUI (There is not an earlier version than this)
Git Bash and CMD
Git Bash and CMD are the command line tools that commands can be issued in to accomplish the same tasks as the GUI. CMD is much like Windows command prompt and lets Git commands be issued in the editor.
Bash steps up a bash environment to be used on Windows and accepts Git commands as well as some UNIX commands. If you are on a Mac (like me) or Linux then you can just install Git and use terminal.
Additional Learning
While Git GUI is easy to learn and pick up Bash is my preferred way of managing sources in my development environments and is a great tool to learn in general. Below are additional resources for learning Bash and the Git commands can be used in CMD as well.